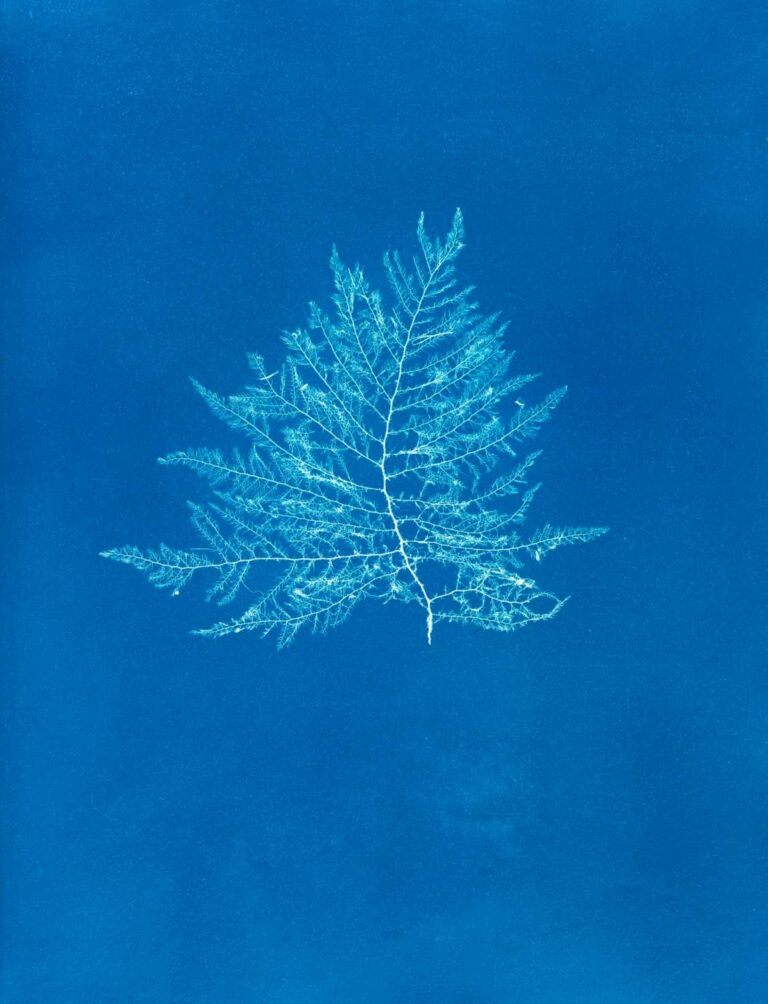
Van DYKE BROWN PRINT

About The Process

VAN DYKE PRINT

The same easy contact printing as cyanotype, in a warm sepia-brown instead of blue.

Patented in Germany in 1895 by Arndt and Troost, though the underlying iron-and-silver chemistry had circulated informally for years before that under names like “brown print” or “sepia print.” Van Dyke brown belongs to the same family of simple iron-sensitized processes as cyanotype, but instead of forming Prussian blue, its chemistry deposits fine metallic silver — giving it a warm brown reminiscent of the rich brown pigment the 17th-century Flemish painter Anthony van Dyck favored in his portraits, which is where the process borrowed its name, a nod to painting rather than any real connection to the artist.


It’s often confused with kallitype, a closely related iron-silver process developed around the same period. The two use different iron salts and slightly different development paths, but the family resemblance in workflow and appearance is real, and sellers have used the names loosely for over a century.


Because it needed no darkroom, no camera, and none of the specialized equipment daguerreotype or wet plate demanded, Van Dyke brown printing spread quickly among amateur photographers at the turn of the twentieth century as an affordable way to make warm-toned contact prints from an ordinary negative, and it has stayed in steady, low-key use among home printers ever since.

How IT WORKS

1.        Mix a sensitizer from an iron salt (ferric ammonium citrate), a mild acid, and dissolved silver nitrate, and brush it onto paper under dim light.

2.        Let the coated paper dry fully away from strong light. Like cyanotype, it stays usable for a short while once dry.

3.        Contact-print it under a same-size negative in sunlight or UV light. The image also prints out visibly during exposure, deepening to a purplish brown well past what the finished print will look like, so progress is easy to judge.

4.        Wash the print promptly once it looks sufficiently exposed. This clears most of the unreacted silver and immediately shifts the color to its true warm brown.

5.        Fix briefly in a diluted sodium thiosulfate bath — Van Dyke brown is unusually sensitive to strong or prolonged fixing, which can bleach the image back out — then wash thoroughly.

About the Process

Experience the rich history of photography. Learn and create with alternative techniques that stand out.

Character

Warm sepia-to-chocolate brown tones with a soft, matte surface similar in spirit to salt printing — less tonal range than platinum, but noticeably richer color than a plain iron-blue cyanotype.

HANDLING

Silver nitrate is the main thing to respect here — it stains skin and fabric, and standard gloves and care are enough. The fixing step needs a light touch, since it's the one part of this process that can undo the print rather than protect it if left too long.

LEGACY

Never as celebrated as its silver-gelatin or platinum contemporaries, Van Dyke brown survived precisely because it was cheap, forgiving, and needed no dedicated darkroom — a staple of amateur and hobbyist printing through the twentieth century. It remains one of the most commonly taught entry-level alternative processes today, usually offered as the next step after cyanotype for exactly that reason.

Start Your Photographic Journey

Unlock your creativity by experiencing photography in a different light. Learn about historical processes and create stunning photographs.

Scroll to Top